

- $37.95
- $37.95
- Unit price
- per
Free Shipping
Free Ground Shipping in the Continental United States for orders of $150 or more.
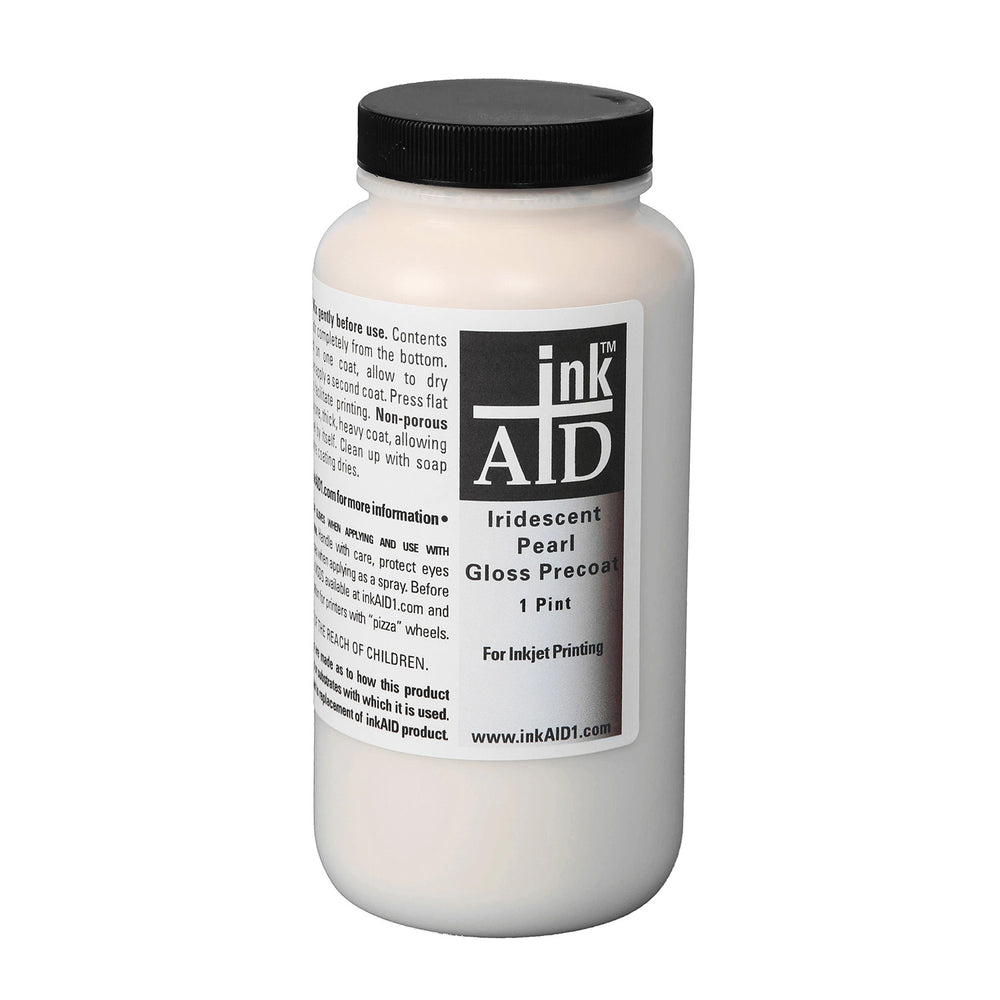
inkAID Iridescent Pearl inkjet receptive coating can be applied to a variety of substrates allowing you to print on virtually any material that can go through your inkjet printer.
inkAID Iridescent inkjet receptive coatings provide a glowing, reflective, iridescent surface that enhances the color of the ink, which changes slightly as you adjust your viewing angle.
Instructions for using can be found by scrolling down this page to the "Working With inkAID Iridescent Coatings" Section and clicking the "⌄" sign.
The resulting prints are clear and crisp with vibrant colors and deep blacks. Coating onto aluminum or dark paper can produce an especially desirable visual effect.
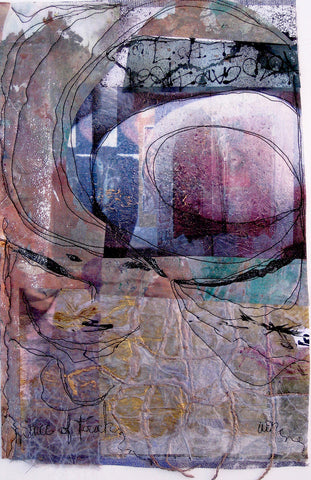
"Sense of Touch"
Wen Redmond. Mixed Media Collage – Combining paper, textiles, digital prints, mediums, and painting into a unique fine art piece. Coated with a mix of inkAID Iridescent Pearl and Clear Gloss coatings on acrylic molding paste.
In this video, Coating Arches Cover Black Paper With inkAID Iridescents, watch step by step how to coat and print your artwork.
Working With inkAID Iridescent Inkjet Coatings
xinkAID Iridescent Coatings are available in Gold, Silver, Pearl, Red, Blue, Bronze, Ultra Lilac and Green. These coatings contain iridescent mica pigments which shift in hue depending upon the viewing.
inkAID Iridescent Coatings have good adhesion to smooth, non-porous, surfaces like metals and can also be applied to paper, wood, fabric, and canvas. It is not water resistant.
inkAID Iridescent Coatings provide a beautiful background to print onto and the different colors can be mixed together to create a custom shade for your work.
Working with inkAID Iridescent Coatings
- Stir inkAID Iridescents gently, but thoroughly from the bottom, before using.
- Either foam or bristle brushes can be used to apply the coatings. Brush the Inkjet coating onto the surface in even strokes, making sure to cover the entire substrate. When the coating has dried to the touch the sheet is ready for printing.
- Start with a few small test pieces to adjust your color settings and printing profiles. Use “semi-gloss or enhanced matte” paper settings as a starting point.
- Allow the print to dry for a day or two before any top coating is applied.
Recently Viewed Products
- Choosing a selection results in a full page refresh.


